Running WordPress requires an ability to run PHP and MySQL database for storing content and Azure Web Apps offer the ability to deploy WordPress instances in just a few clicks. Out the box, Azure Web Apps support PHP up to the latest version. However, your options for fulfilling WP’s dependency on MySQL in Azure Web Apps have consisted of using a third party MySQL instance offered through ClearDB, pointing your site to a remote VM running MySQL, or leveraging the new MySQL in-app offering. You could also bypass MySQL by using Project Nami which replaces the dependency on MySQL with MSSQL Each of these options have their drawbacks when compared to a vanilla install of PHP + MySQL if you are simply looking to host a personal blog. For example, reliance on ClearDB affect portability, running a VM solely to run MySQL is a bit verkill, and MySQL in-app is not recommended in production as it does not grow beyond a single instance at this time.
That said, Azure does offer the ability to deploy Quickstart templates leveraging Docker compose. Docker allows us to create a user environment in Linux that fulfills the PHP + MySQL requirement and is portable across any VM for which the source architecture matches the target. While this will run on it’s own VM, the Docker container is portable across any host capable of running a compatible host OS. In theory, you could lift and shift your deployment between various cloud providers.
The best part is that migrating an existing Azure Web App instance of WordPress to an Azure VM running Docker is super easy! Here is exactly how I did it for my personal blog.
Step 1:
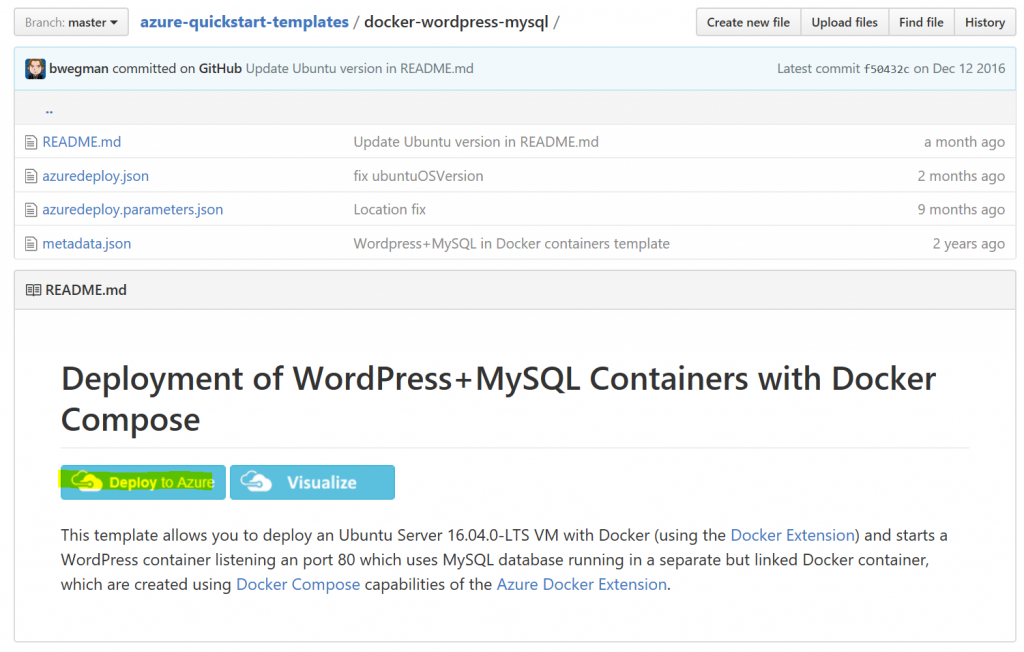
Deploy the WordPress + MySQL template from the Azure-Quickstart-Templates Repo, by clicking the “Deploy to Azure” button
Step 2:
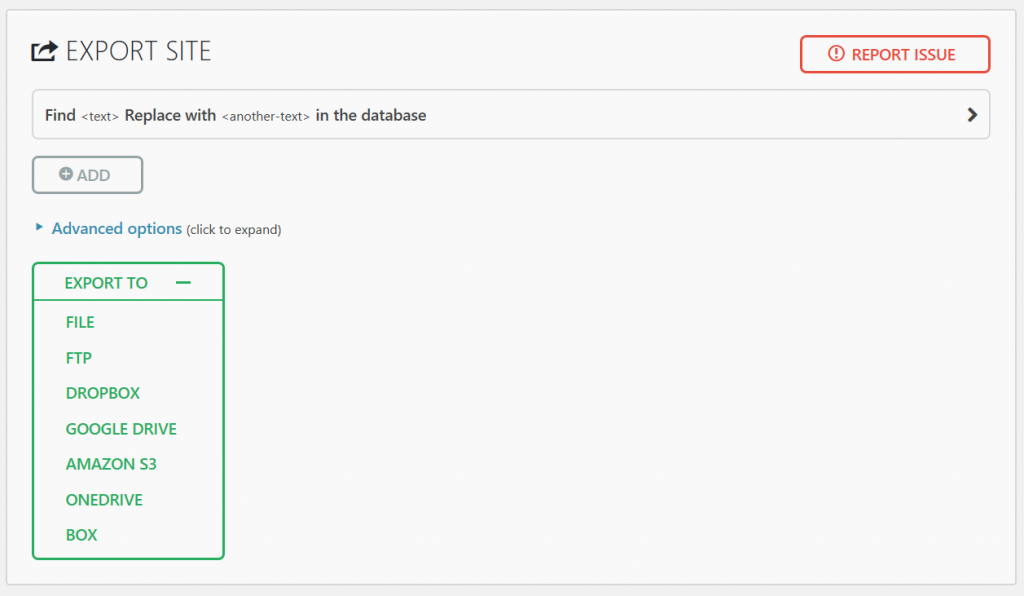
Head to your original WordPress instance and install All-In-One WP Migration, then export your site
Step 3:
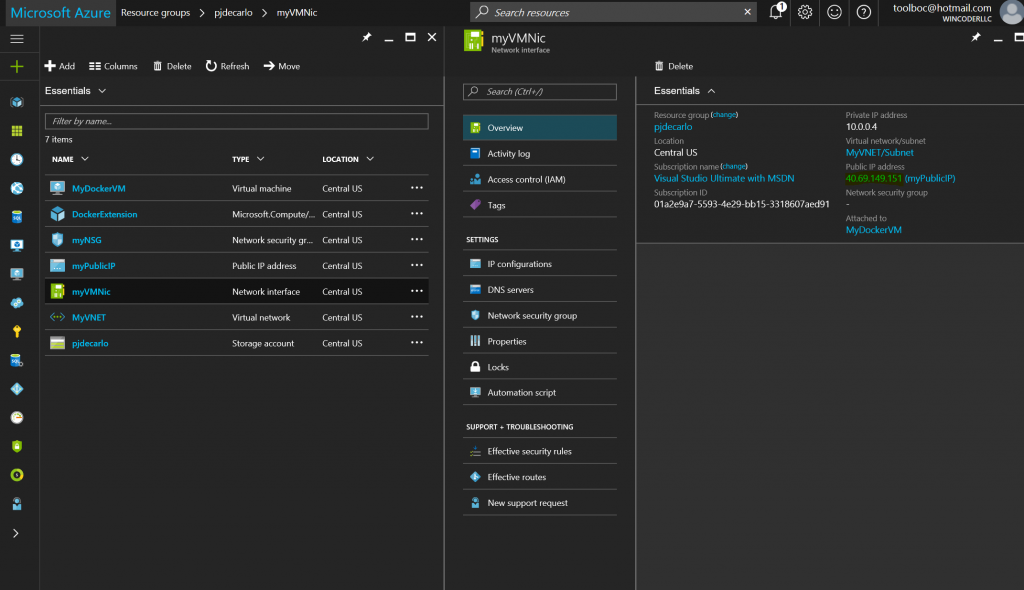
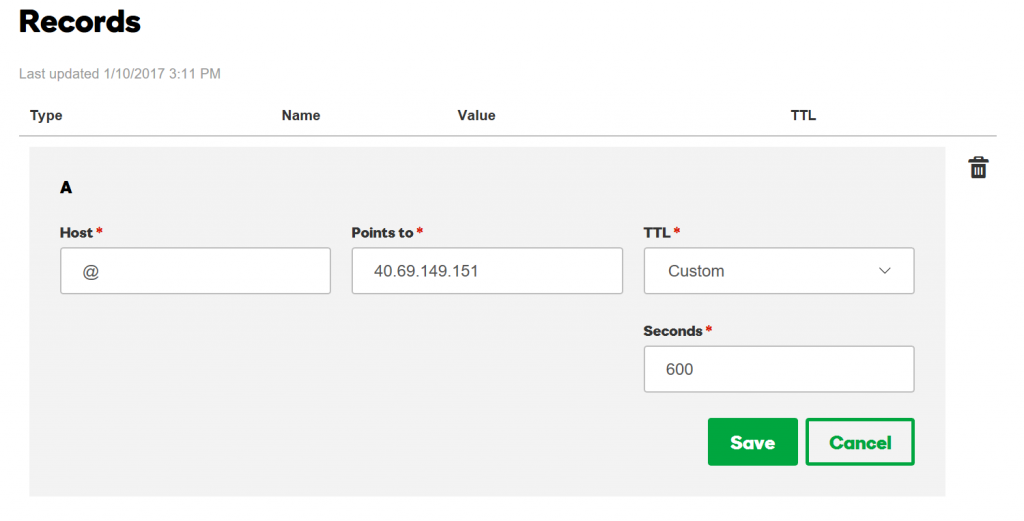
While exporting, point your existing A record for your custom domain to the ip address of the VM that was deployed in Step 1 (if you have one). This can be found in the Network Interface of your deployment from Step 1. Be aware that your domain name may take a while to propagate depending on your TTL settings with your DNS host.
If you are using GoDaddy as your registrat, this would look like:
Step 4:
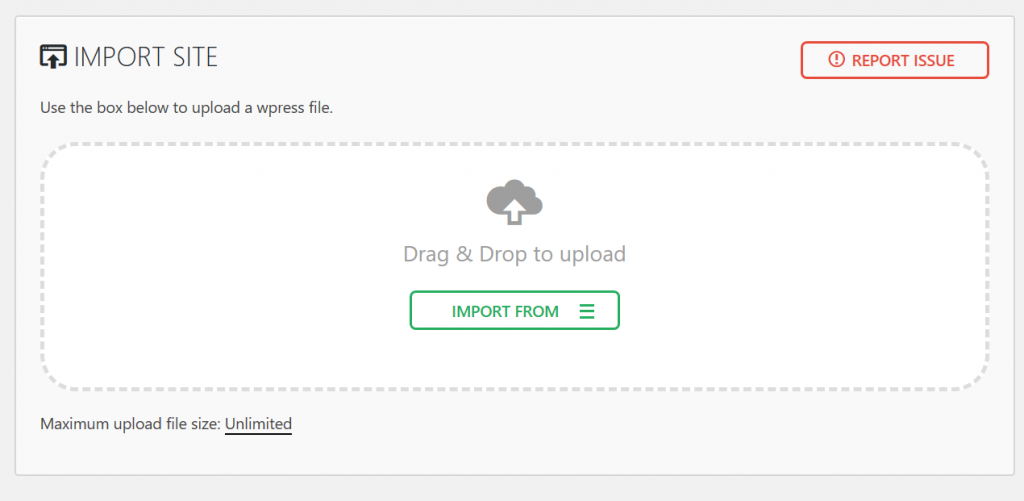
Head to the ip or domain name of your newly deployed VM and configure your new WP instance. Once complete, install All-In-One WP Migration to your newly deployed site and import your exported .wpress file from step 2.
Step 5:
Update your new deployment settings to reflect your custom domain in the “WordPress Address” and “Site Address” sections.
Conclusion:
Using Azure Quick Templates, you can very easily deploy a variety of services in just a few clicks. In this case, we were able to migrate a WordPress blog originally hosted as an Azure Web App to an Azure VM running WordPress on Docker. As a result, we get the benefits of pure PHP+MySQL and scalability on the Azure platform!
-Happy Hacking!

