The Rio 2016 Olympics are currently underway and millions around the world are tuning into the various events taking place. Like many, I want to watch the action in the comfort of my living room with my family and friends. Unfortunately, I was stuck with pretty much two options for watching the event. I could view the glory on NBCs delayed online stream or catch the action in my bedroom TV through Comcast Xfinity. Understand that I have a situation where the cable line is only available from my bedroom and my Xfinity credentials don’t seem to allow me to stream through the recently released NBC Sports App on Xbox One.
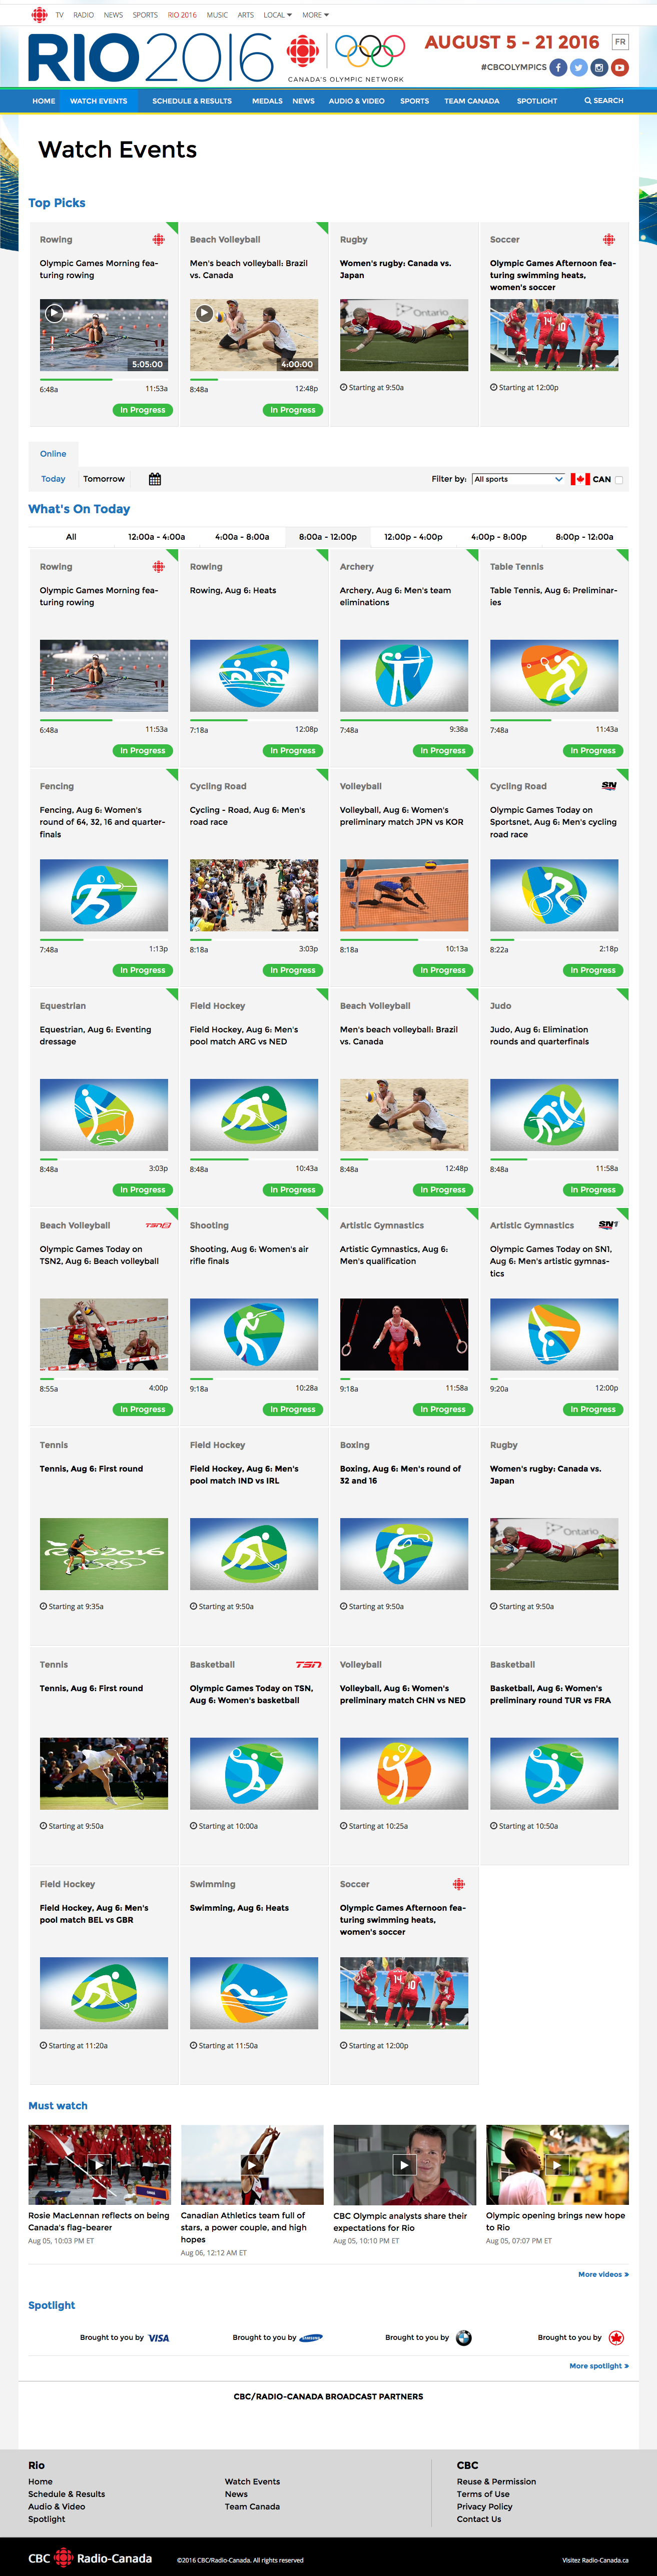
Then I discovered that the Canadian Broadcast Company allows live access to a very superior categorized collection of Olympic Events.
Notice the amazing buffet of live and recorded events:
One small problem though… If you try accessing a video stream from outside Canada you will be greeted by the following:
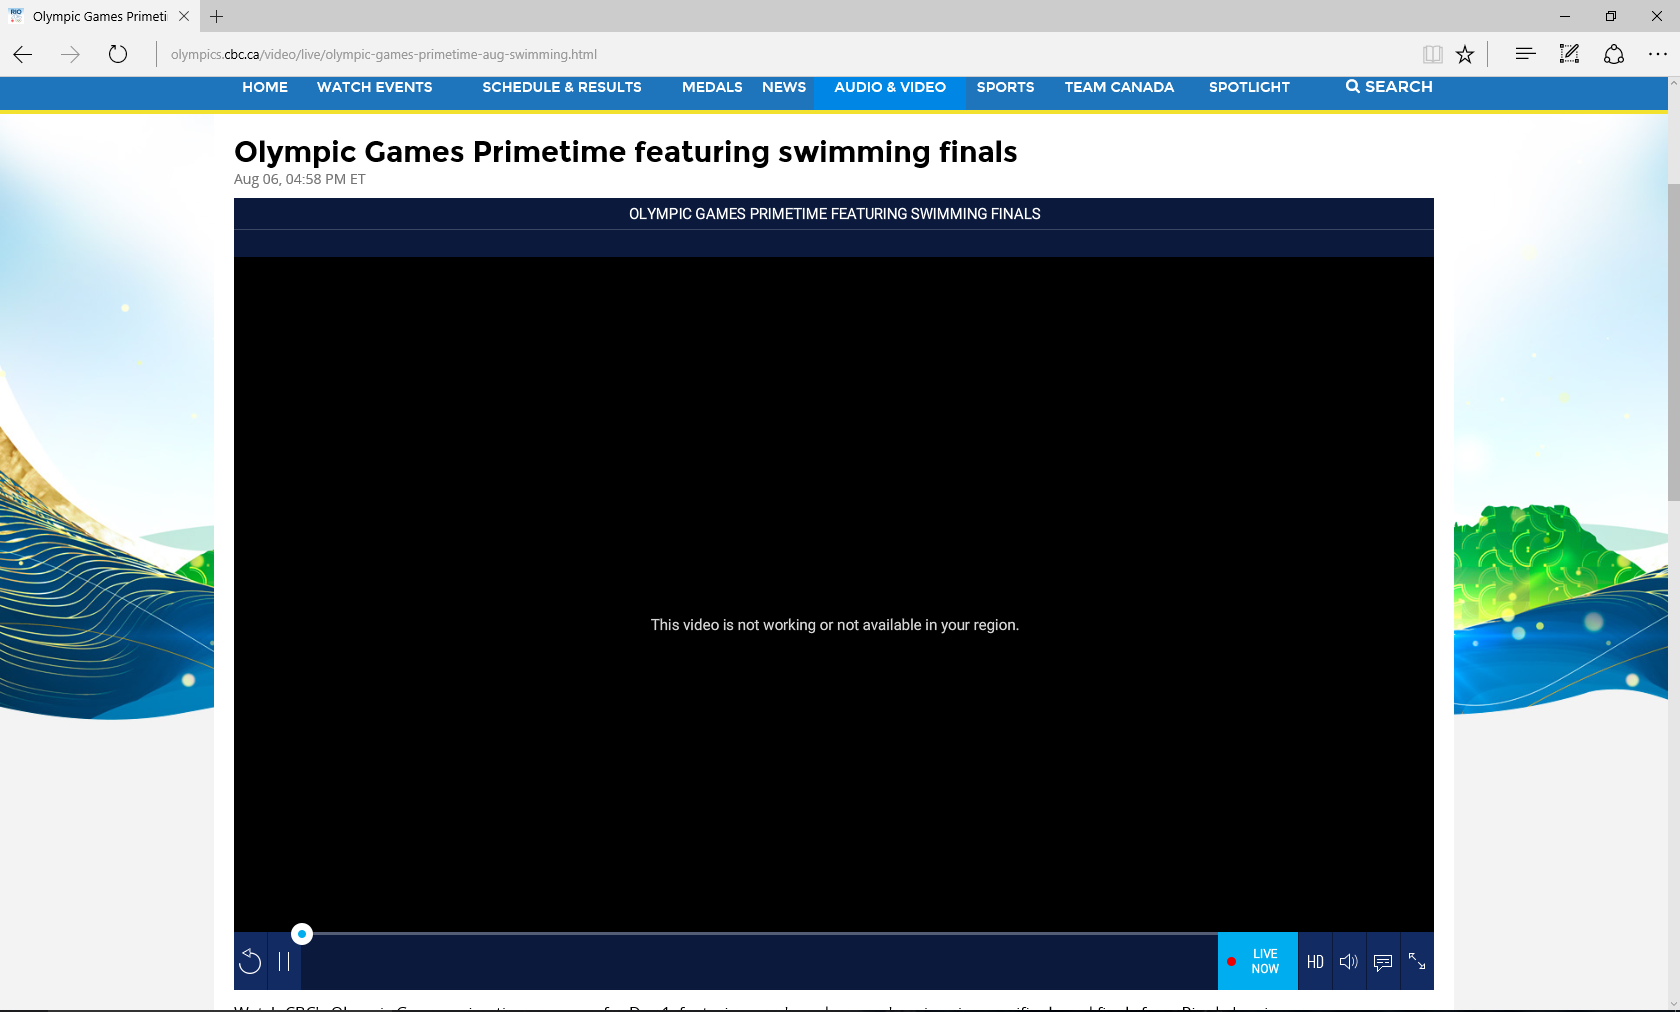
Sigh… If only I had a Canadian ISP or a computer located in Canada.
Wait a minute… Microsoft Azure has 2 datacenters in Canada!
Solution:
Let’s deploy a VM and configure a proxy with built-in authentication to allow us to route traffic through a machine located in Canada and bring the data into the living room!
Why not use a VPN or public proxy? This solution is similar, however, since you will be in control of the actual proxy, you will not have to worry about the VPN / Proxy operator snooping on your internet traffic or issues with network saturation. In addition, the proxy we will deploy will have an authentication mechanism which means that only users with a valid login to your proxy will be able to use your service. We will essentially roll our own VPN.
What you will need:
Active Microsoft Azure Subscription (Free Trial Available)
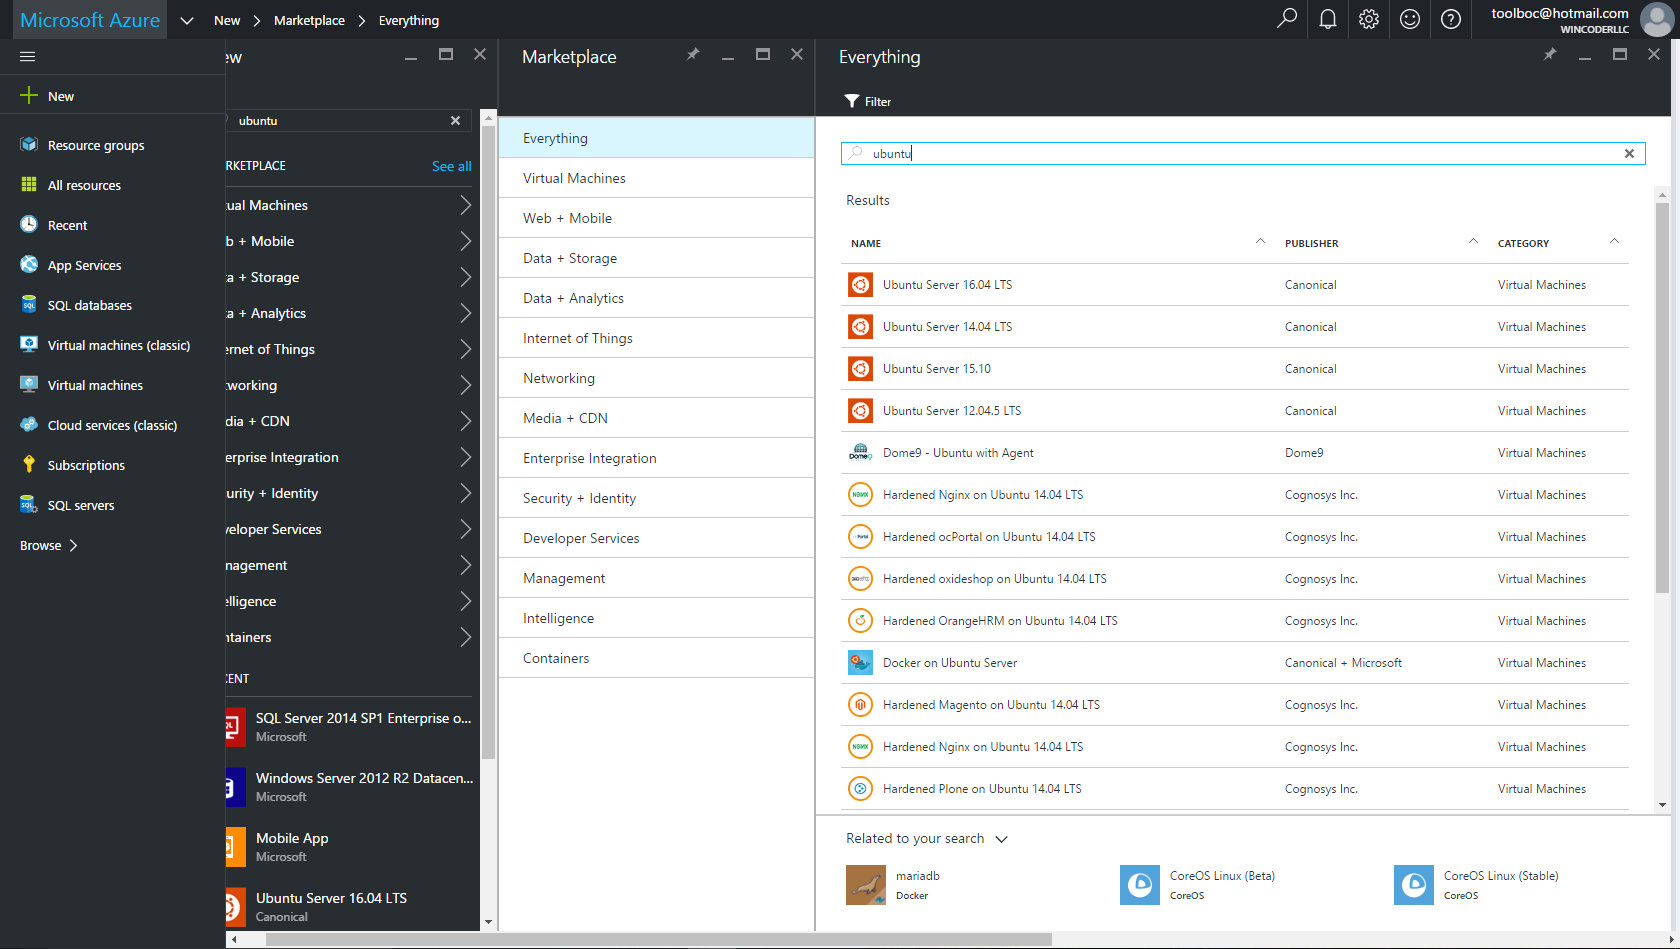
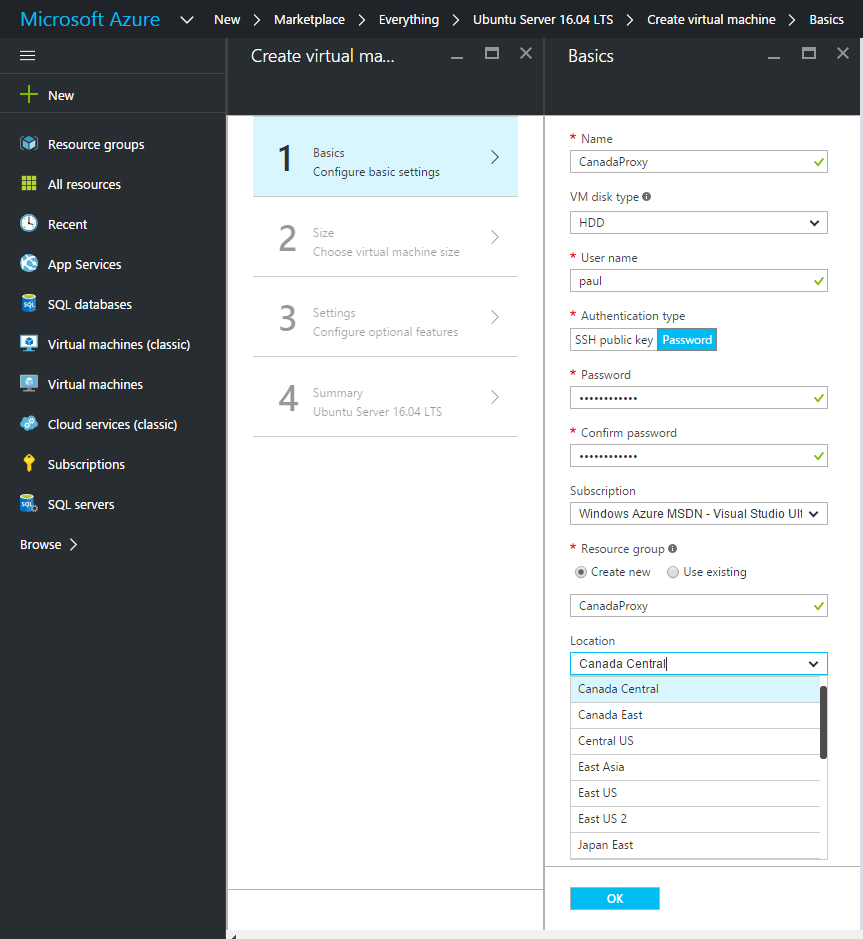
Step 1: Login to Azure and begin deployment of a Linux based VM image
(I chose Ubuntu 16.04 because it’s the latest and greatest)
Step 2: Be sure to Deploy your VM into a Canadian Datacenter (Canada Central or Canada East)
Step 3: Select your VM Size
Size really shouldn’t be an issue as the machine will operate as a basic proxy with an authentication layer
I chose the low-end A0 which currently cost $13.39 / month in compute charges
(Note that amount of bandwidth consumed will cause changes in price)

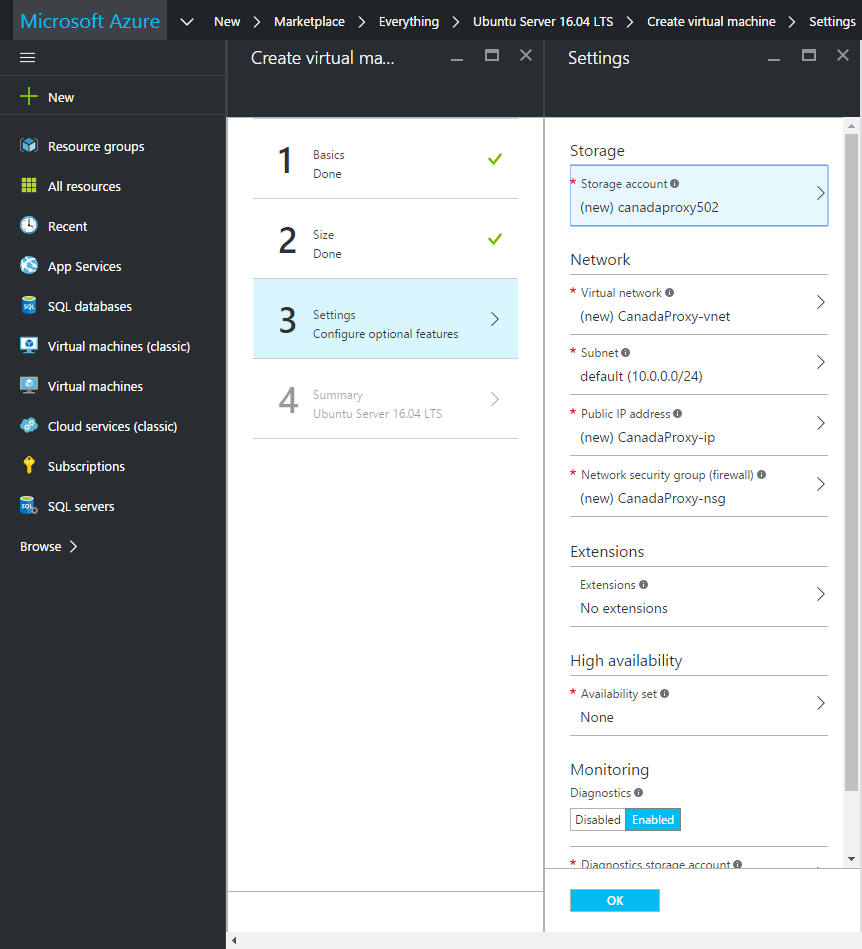
Step 4: Leave Default Settings for Optional Features
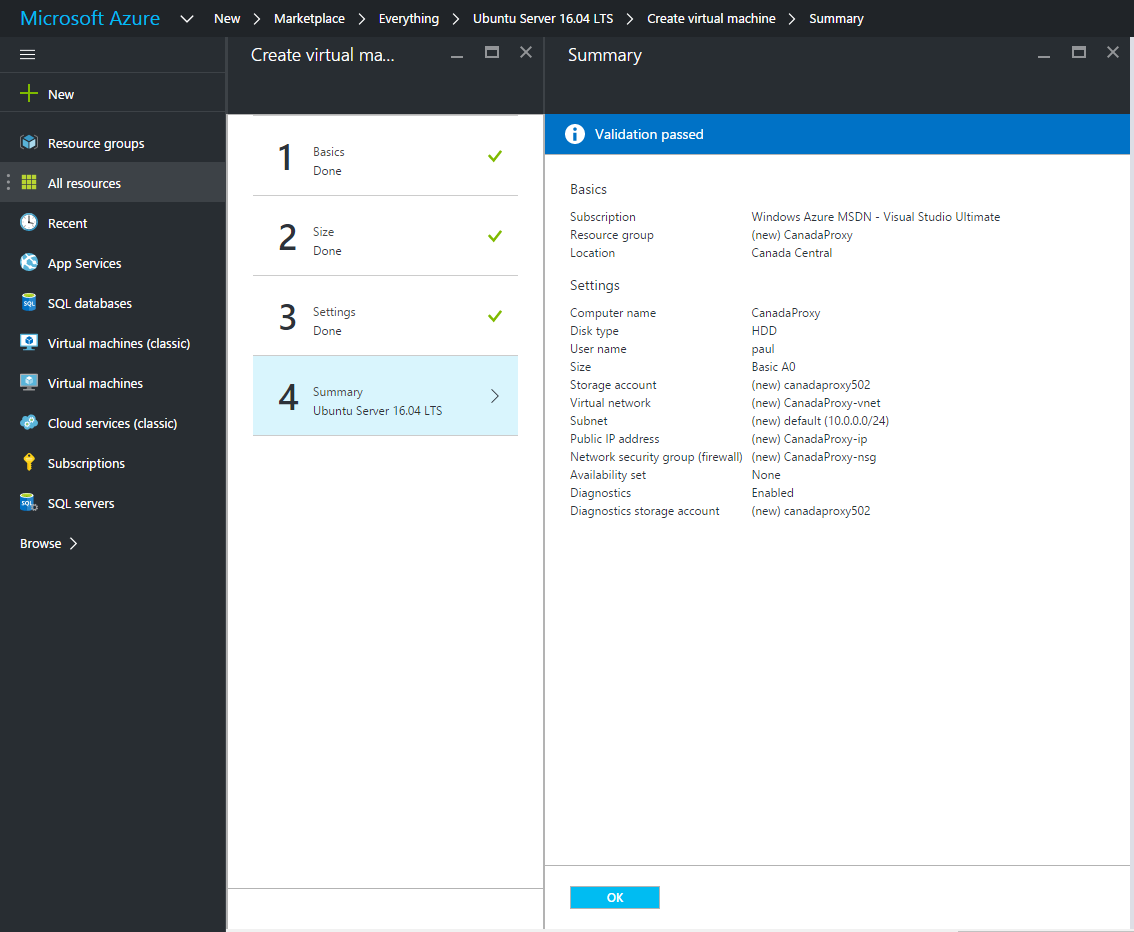
Step 5: Confirm and Deploy!
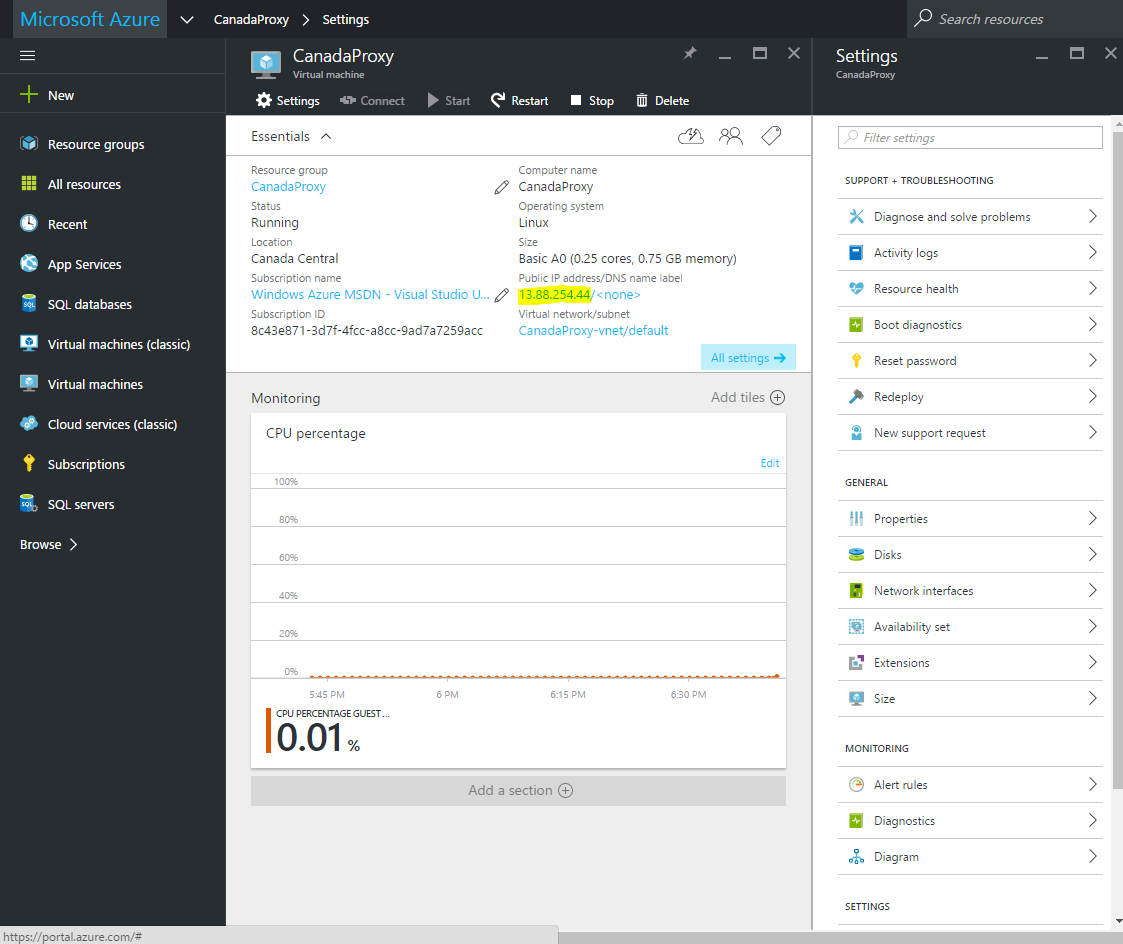
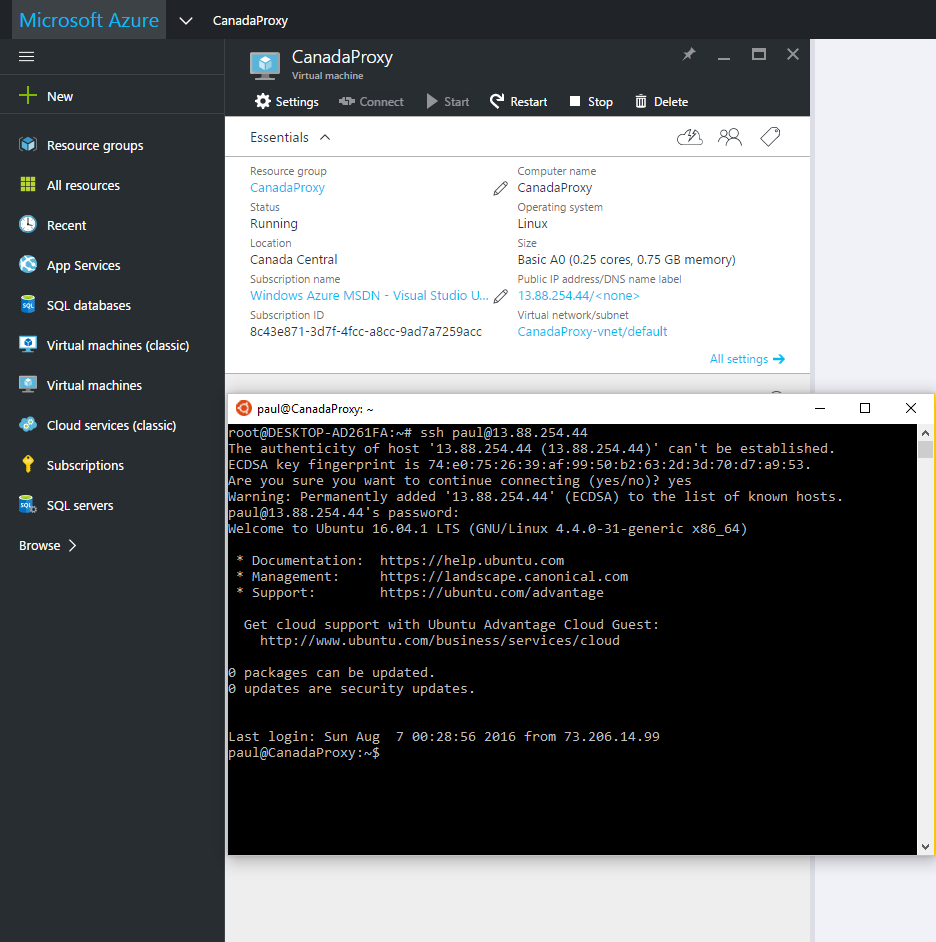
Step 6: Note IP address of deployed VM
Step 7: Fire up an SSH Client
(I used Bash on Ubuntu on Windows which is included in recent Windows 10 Anniversary Update)

Step 8: Connect to VM over SSH
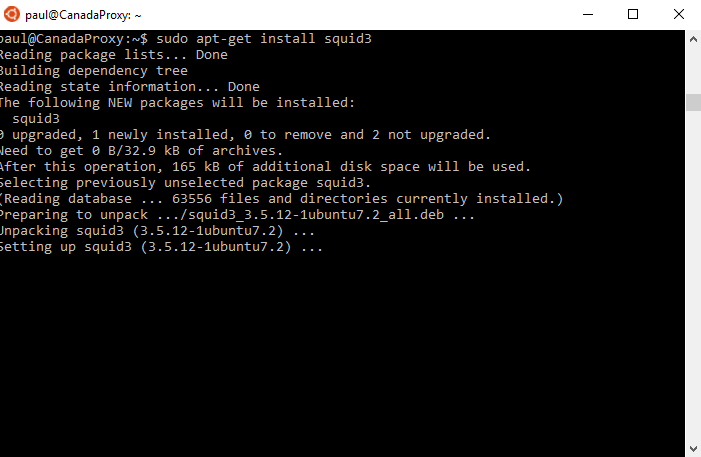
Step 9: Install squid with sudo apt-get install squid3
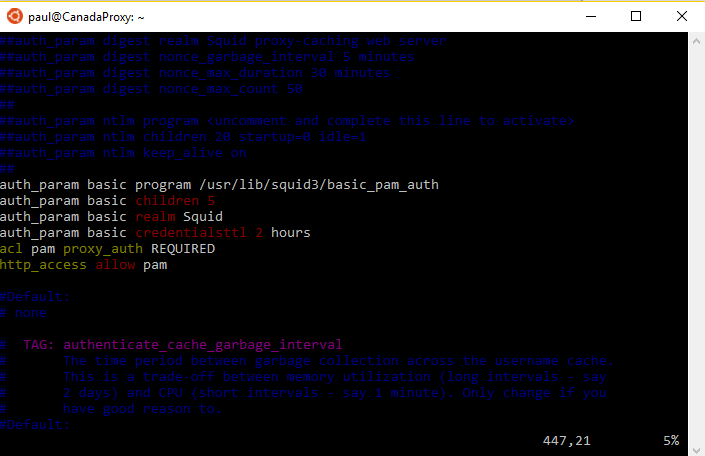
Step 10: Modify squid.conf with sudo vi /etc/squid/squid.conf
Here is a copy of the config used on my VM
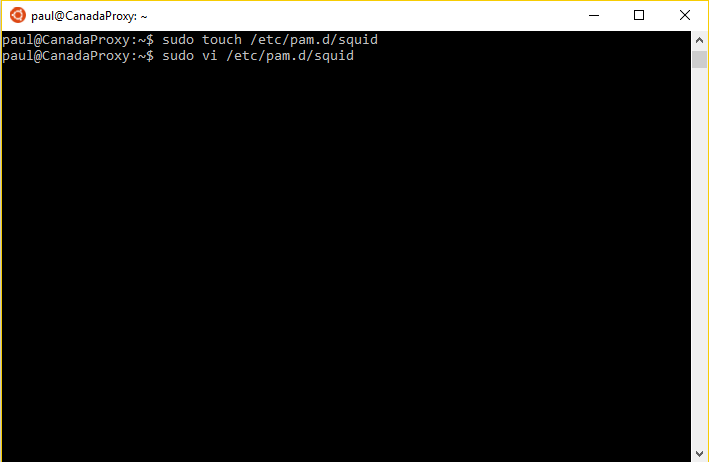
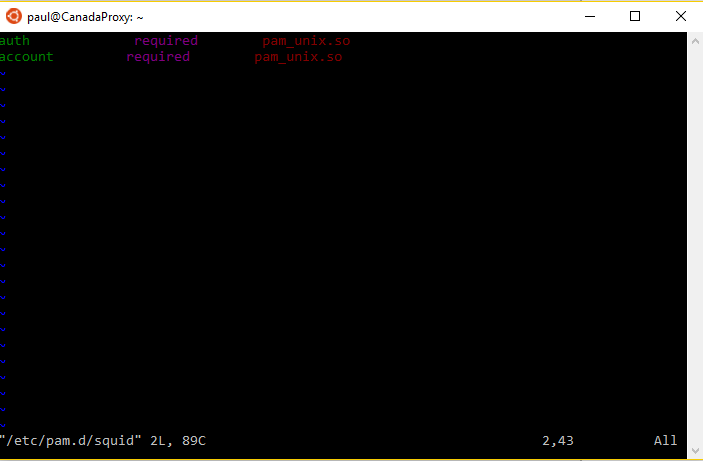
Step 11: Create and edit a new PAM Module with sudo vi /etc/pam.d/squid
This will allow our proxy to operate with a layer of authentication so it is not open to the public for potential abuse
Step 12: Modify newly created module with:
auth required pam_unix.so
account required pam_unix.so
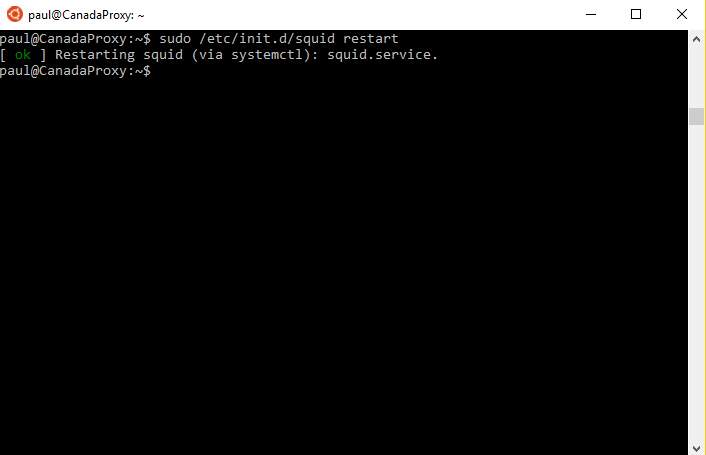
Step 13:Give the squid service access to the shadow file with `gpasswd -a proxy shadow` then Restart squid with sudo /etc/init.d/squid start
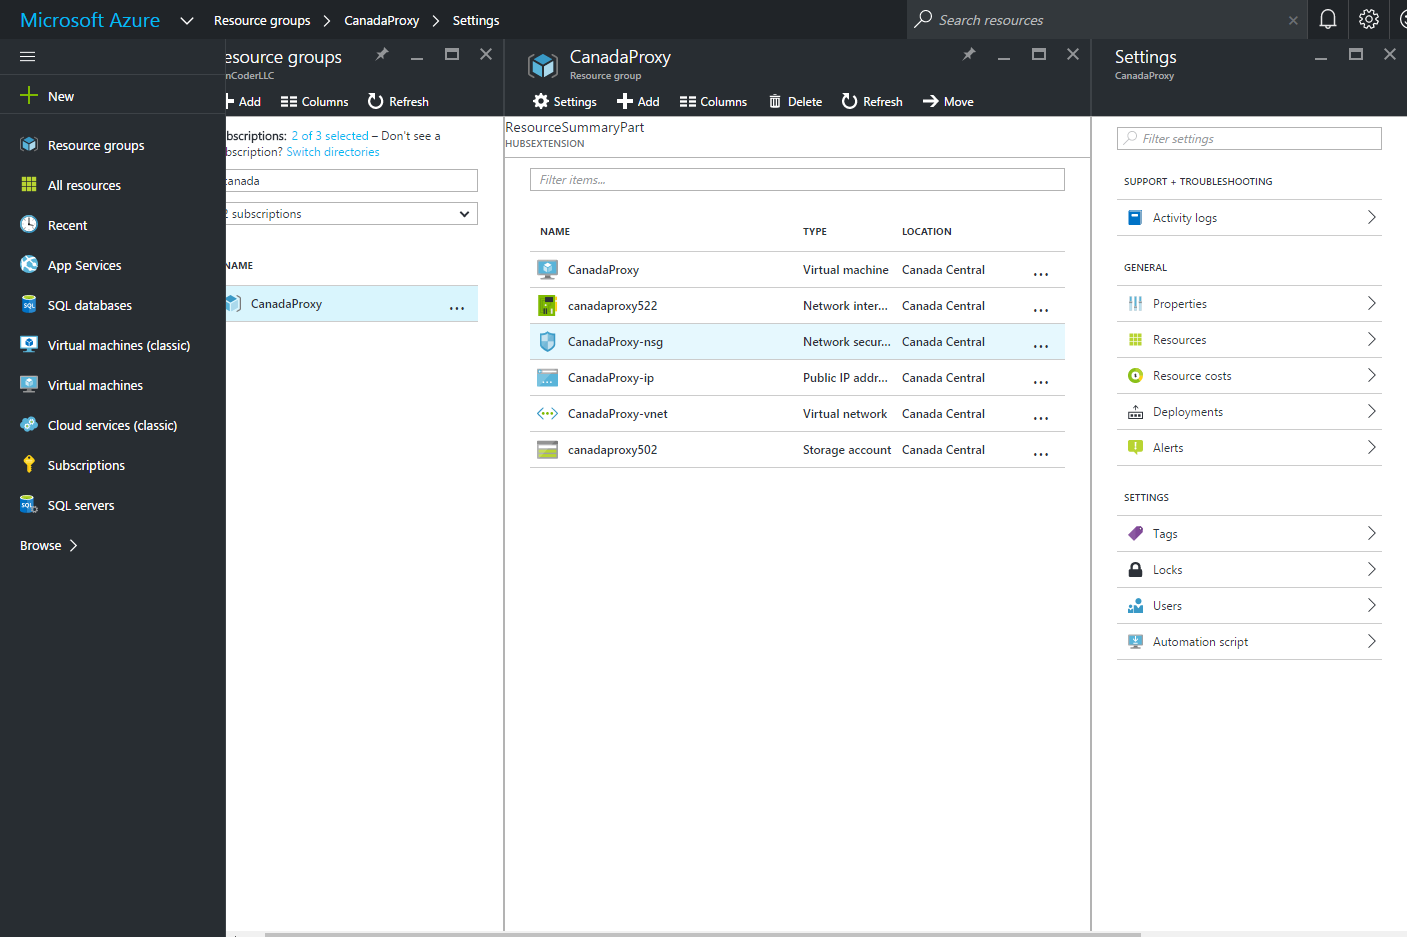
Step 14: Create an inbound security rule to allow traffic to port 3128 on our VM
(By default, squid runs on http_port 3128)
To do this, begin by locating the resource group that your VM was deployed to:

Next, locate the security group that is associated with your VM
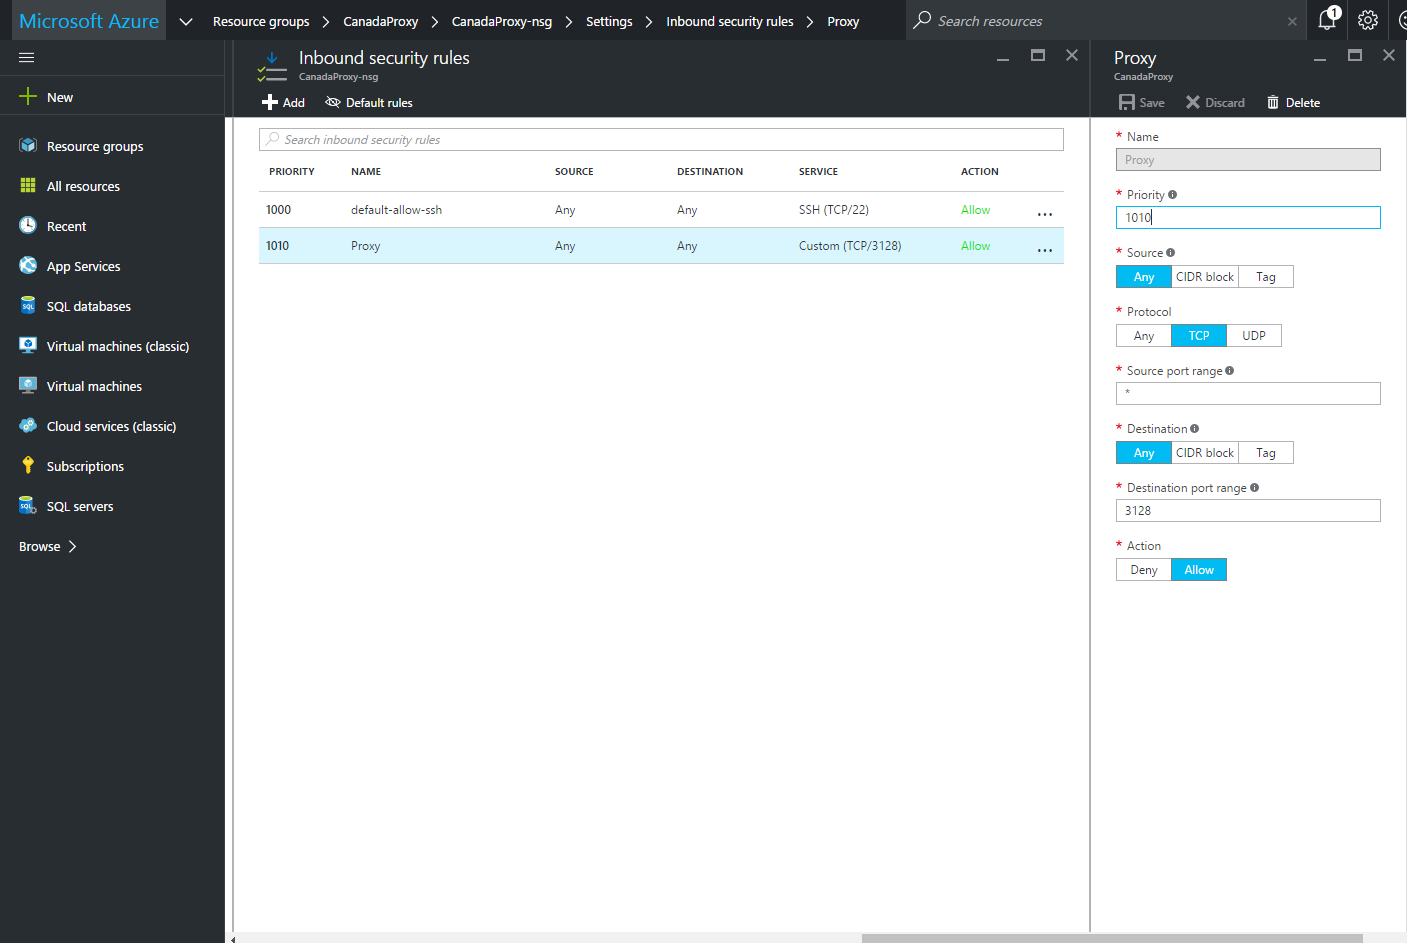
Finally, create a New Inbound Rule with the following configuration:
Step 15: Configure browser to proxy traffic through now operational squid proxy running on VM located in Canadian Azure datacenter
In Edge this looks like:
Settings => View Advanced Settings
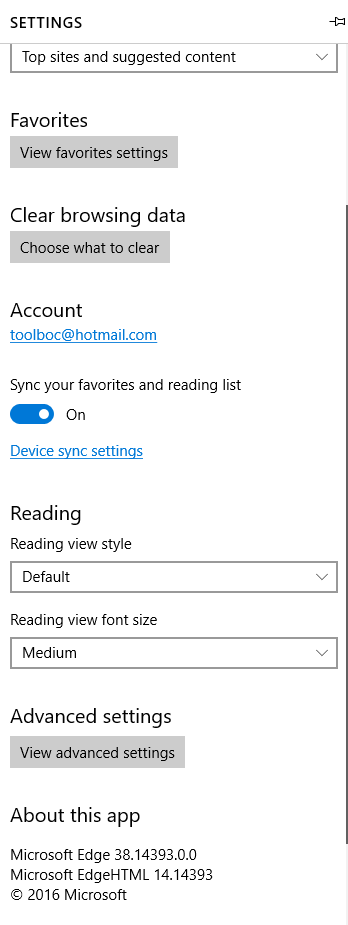
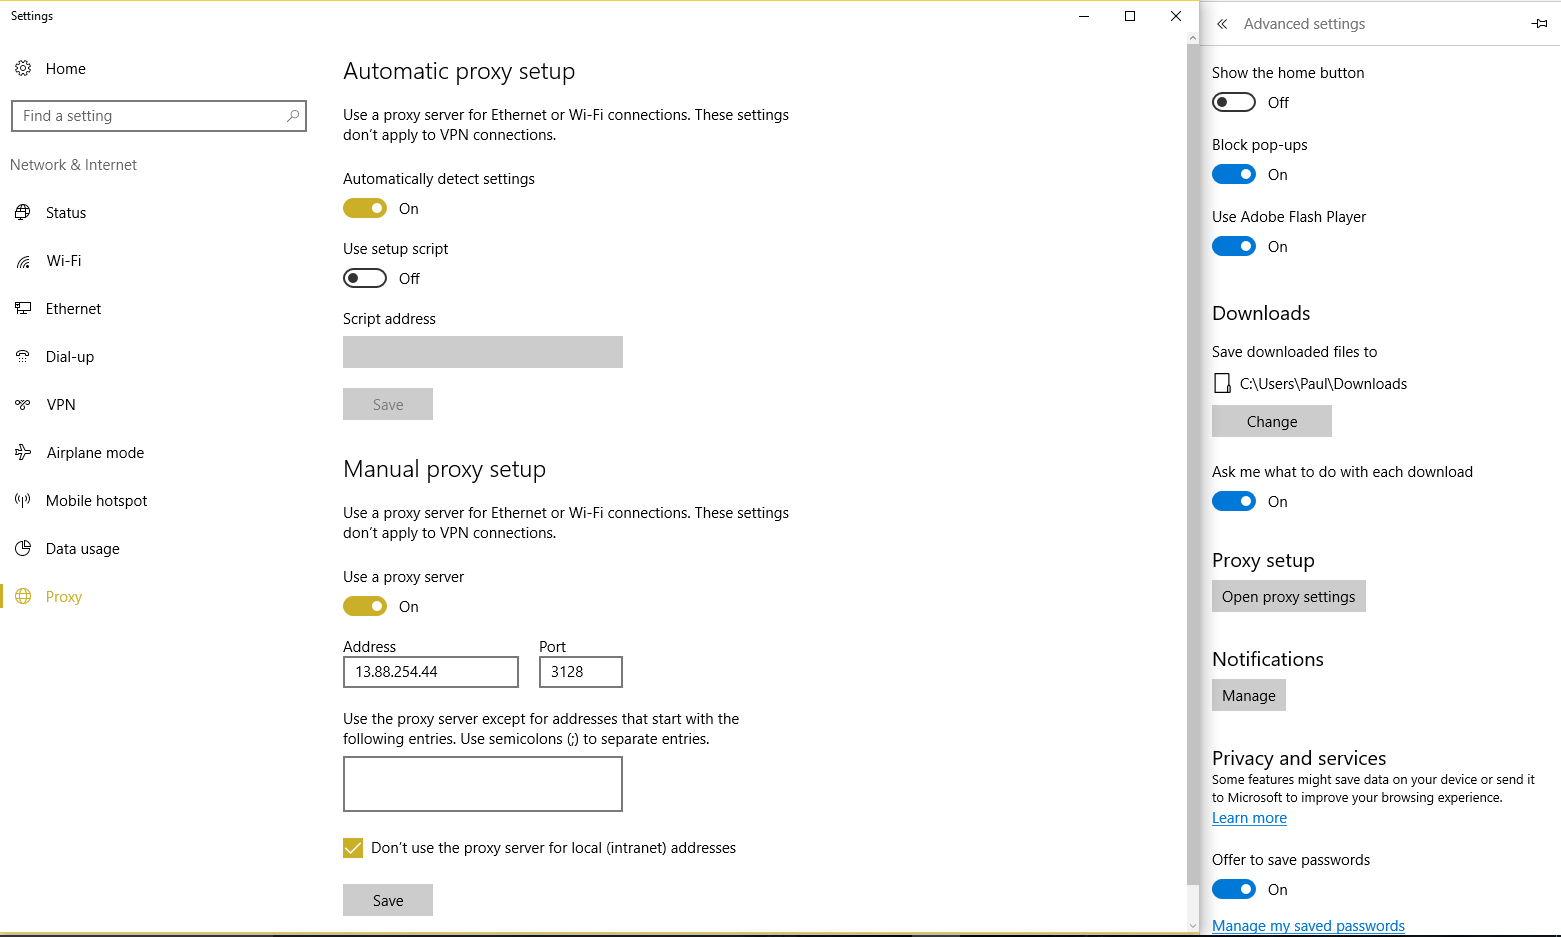
Open Proxy Settings => Manual Proxy Setup
Address = <ip address of VM>
Port = 3128
In Google Chrome this looks like:
Settings => (scroll to bottom) Show Advanced Settings… => Change Proxy Settings
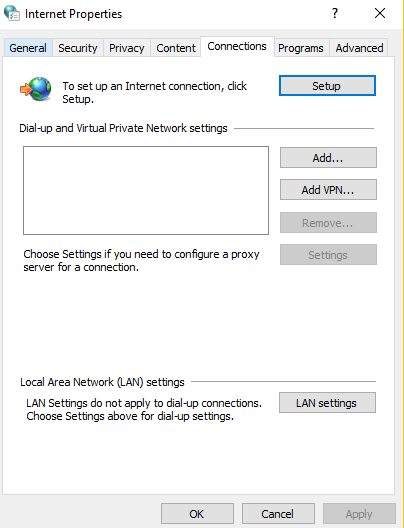
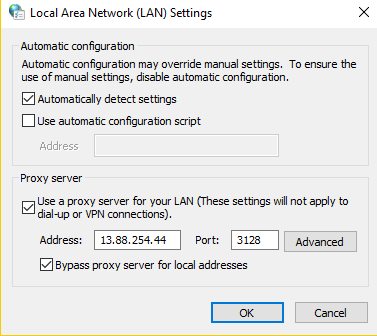
LAN settings => Proxy server
Check “Use a proxy server for your LAN…”
Address = <ip address of VM>
Port = 3128
That’s it!
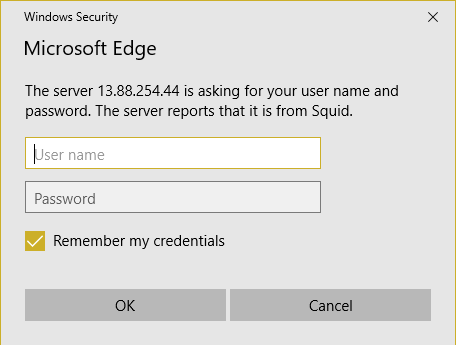
Now when you visit a web page with your newly configured settings you should be prompted for credentials:
User name = <user account located on your VM>
Password = <Password used to login to VM with associated user>
After that, you can check your ip and confirm you are reporting a Canadian ip address
Try it out by heading to http://cbc.ca and accessing a stream
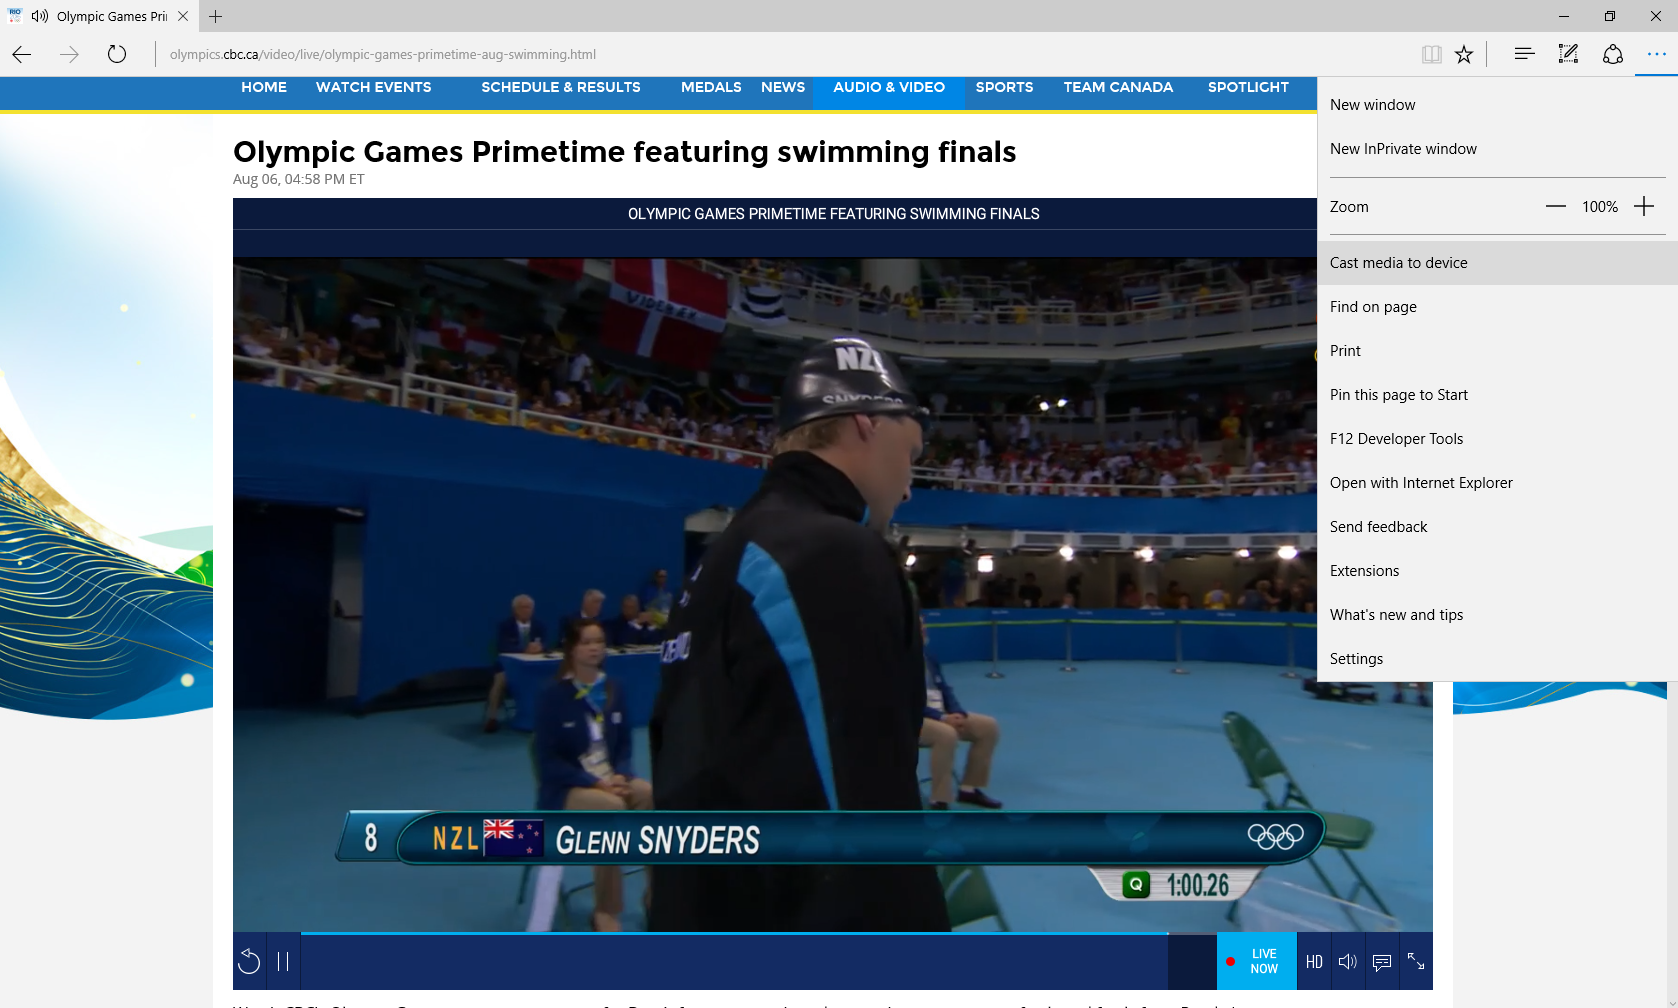
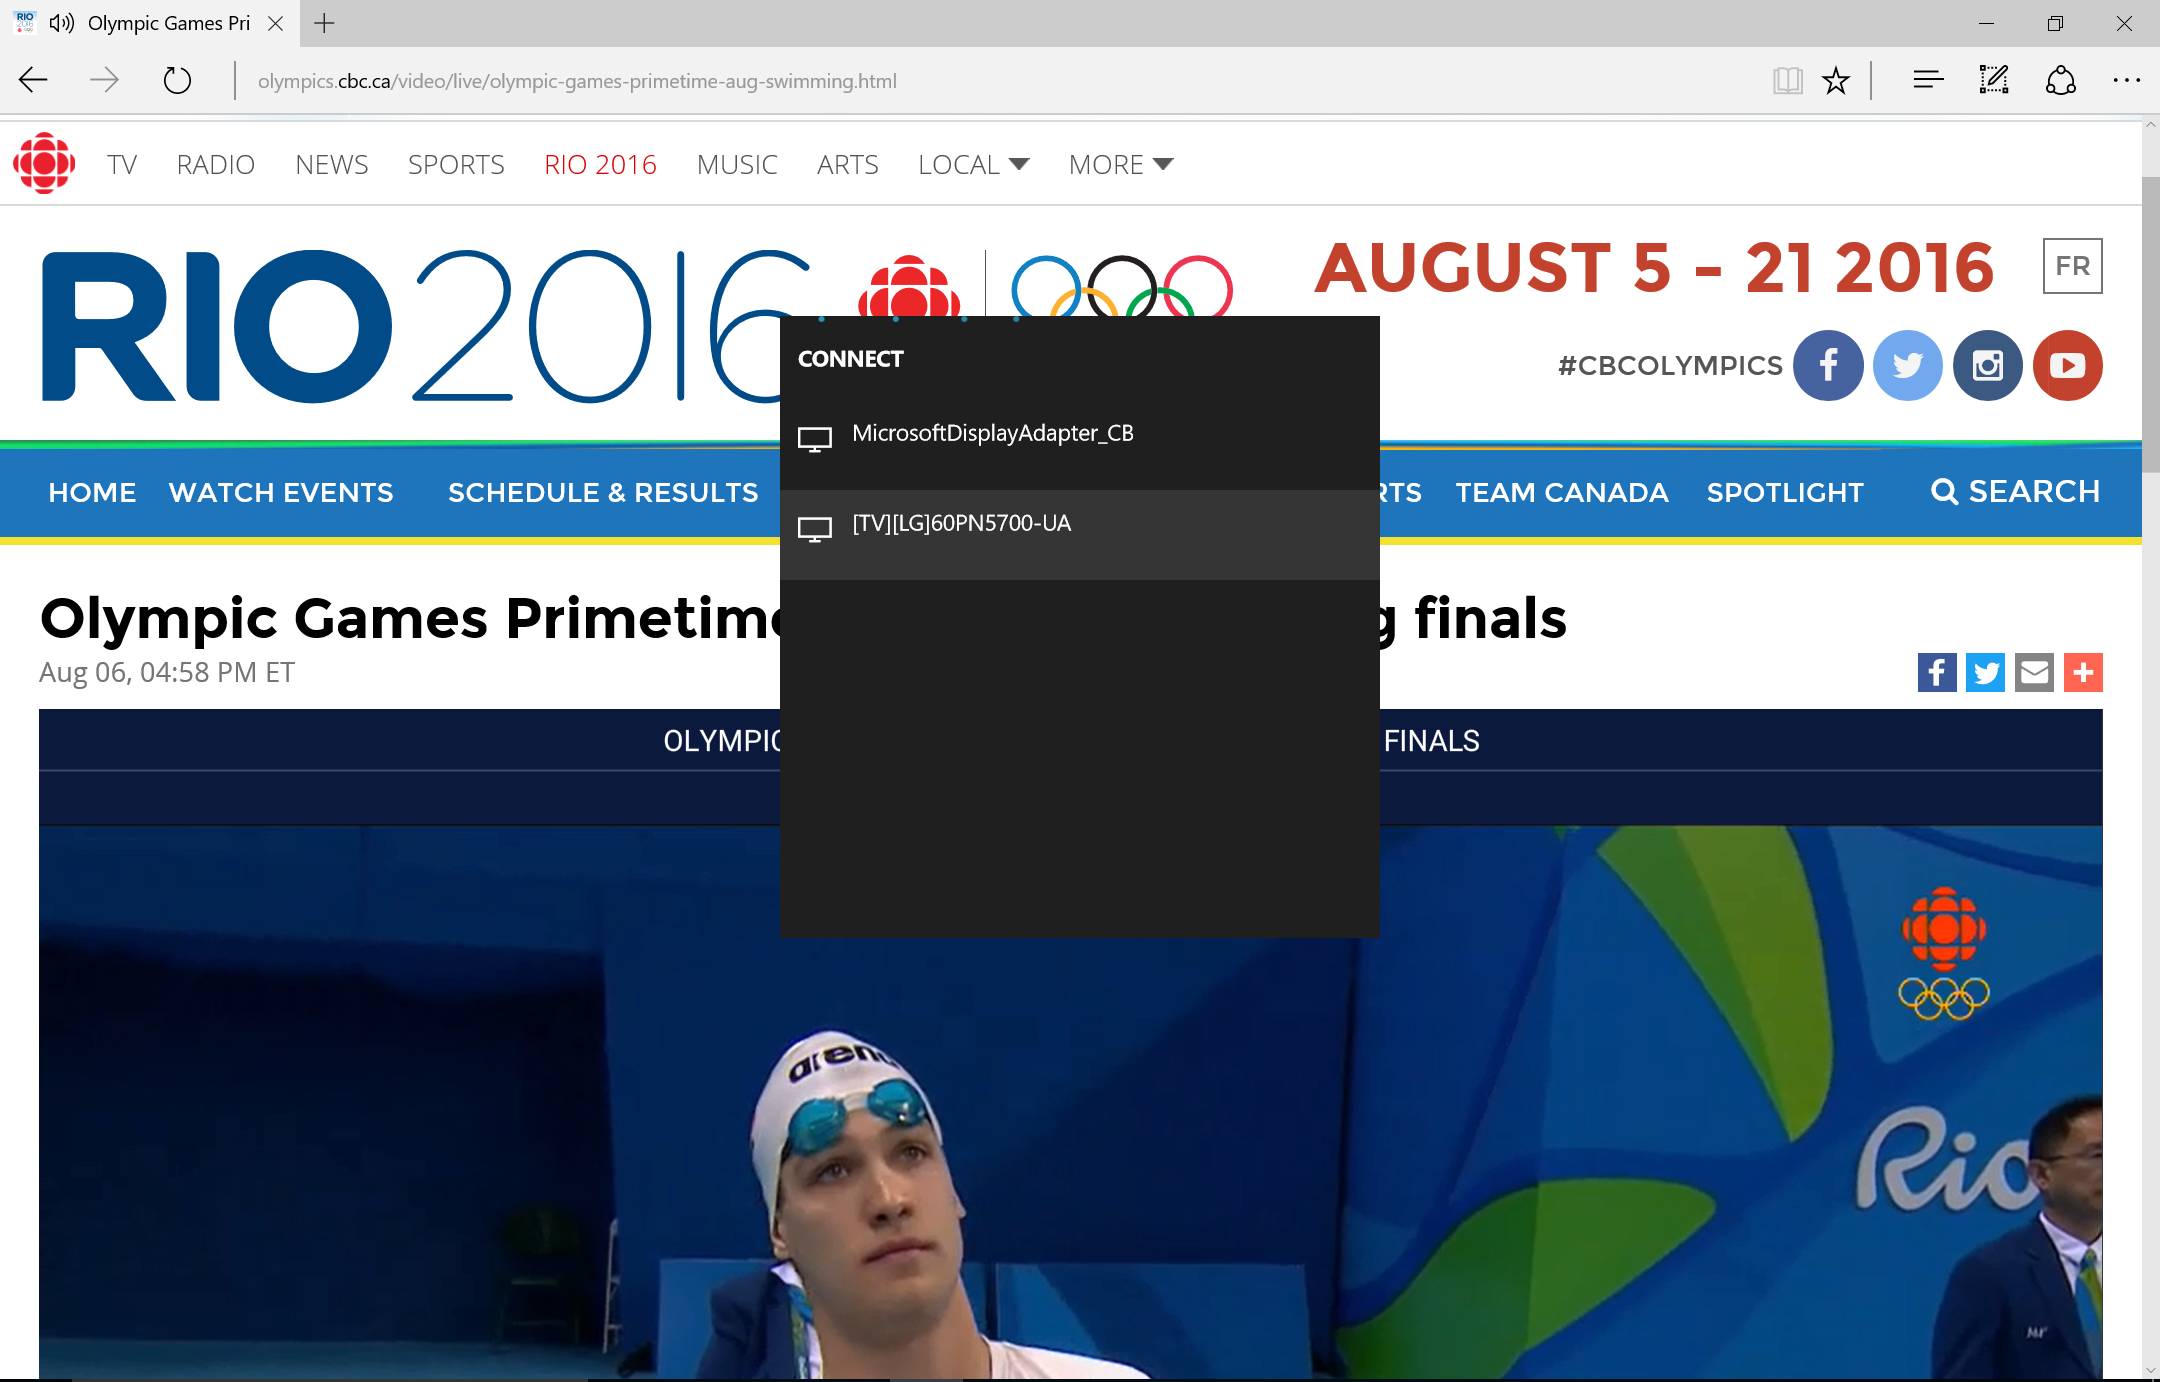
Note that in the Edge Browser you can right click and select “Cast Media to Device” if you are using a Miracast enabled device. This will list available devices to stream content to, simply select your device and enjoy the games!
Otherwise, stream using remote display in Windows 10, Chromecast, or connect over HDMI and enjoy!
Happy Hacking!
1 comment for “Configure Squid Proxy in Azure to Watch Olympics via Canadian Broadcast”